<--- Return to Projects Page
Build Log: Laptop CPU Thermal Pads
Introduction
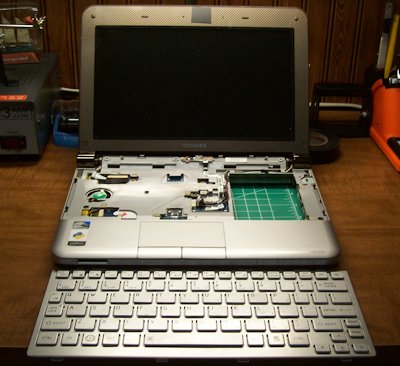
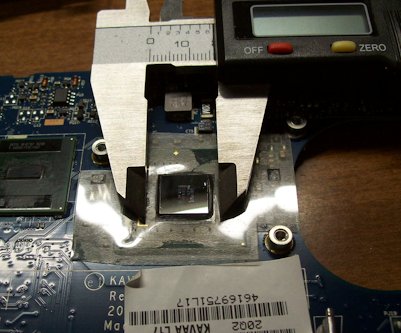
This little 32 Bit machine is remarkably capable despite it's age. In fact, I'm typing this log entry on in right now! But age can bring even the noblest of devices down low. In an attempt to squeeze a few more years of service out of the old gal I decided to tear her apart and install a new thermal pad on the CPU.
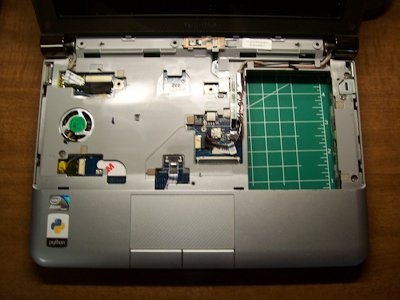
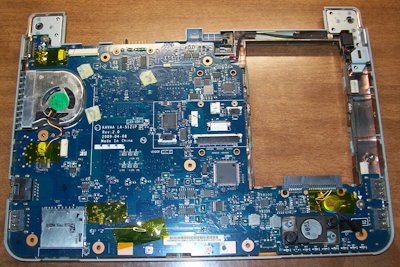
Step 1: Down to the Wire
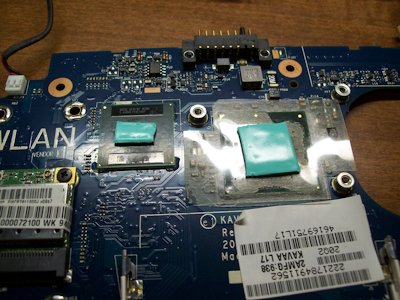
As you might imagine, getting to the CPU in any laptop is a chore, but when compared to modern machines this old NetBook is a piece of cake! A few dozen screws (almost all the same size) to remove, a little spudger application and ribbon cables to disconnect and BAM! you're there!
Step 2: Put it Back Together

Conclusion
Like I stated earlier the whole job really wasn't that bad thatnks to competent engineers designing this thing to be serviced. Hope you enjoyed the ride!
<--- Return to Projects Page